Unpacking and Installing Consumables to your OKI MC 883 ES 8453 8473 printer
- Remove the machine from the box, and then remove cushioning material and the plastic bag from the machine.
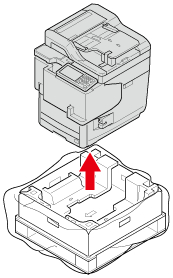
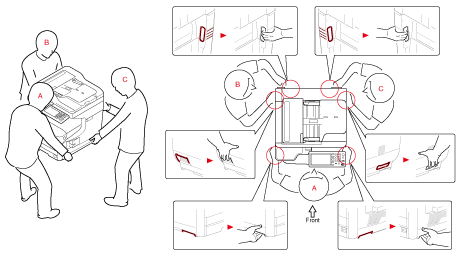
- Lift the machine, and then place it where it is to be installed.
- Remove the cushioning materials and protection tapes.
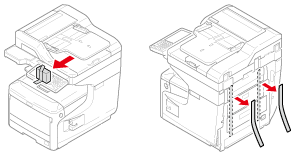
- Remove the protection tapes.
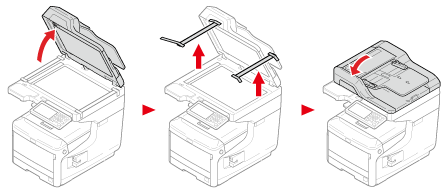
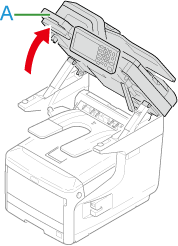
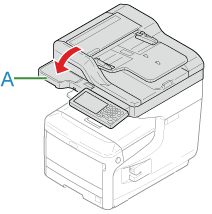
- Hold the handle (A) to open the scanner unit.
- Remove the desiccant pack and protective sheet attached to the transparent part.
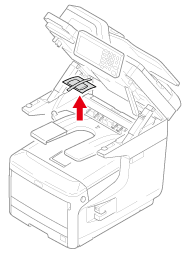
- Remove the protective sheet.
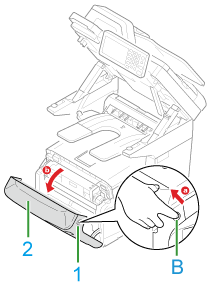
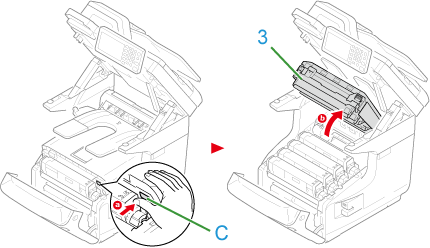
- Insert your finger into the recess (B) on the right side of the machine and pull the front cover open lever (1) to open the front cover (2) forward.
- Press the button (C) and open the Output Tray (3)
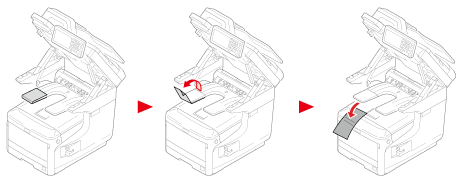
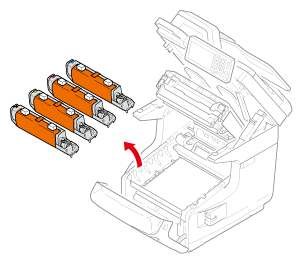
- Take all four image drums out.
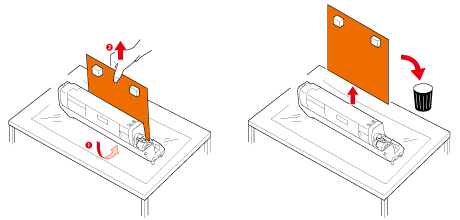
- Remove the protective sheets from four image drums.
- Put all four image drums back into the machine.
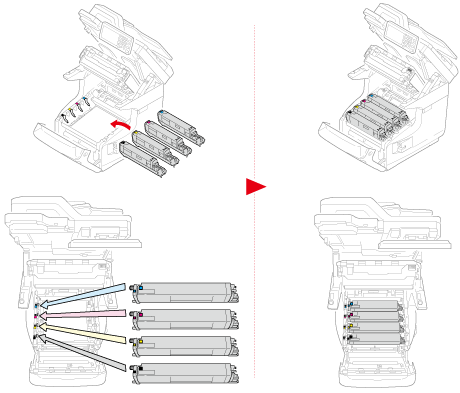
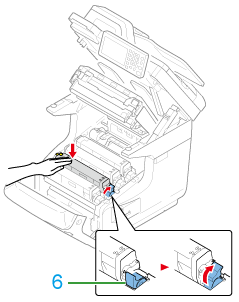
- Turn the blue lever of the toner cartridge backward until its top aligns on the mark.
- Close the output tray, Close the front cover, and Hold the handle (A) to close the scanner unit.
Did this answer your question?
Thanks for the feedback
There was a problem submitting your feedback. Please try again later.